Publisher Users
THAPI Manager allows you to manage Publisher users on the Publisher portal, including adding, updating and removing them.
Add a Publisher User
- Navigate to the Access Control module's Publisher Users sub-module.
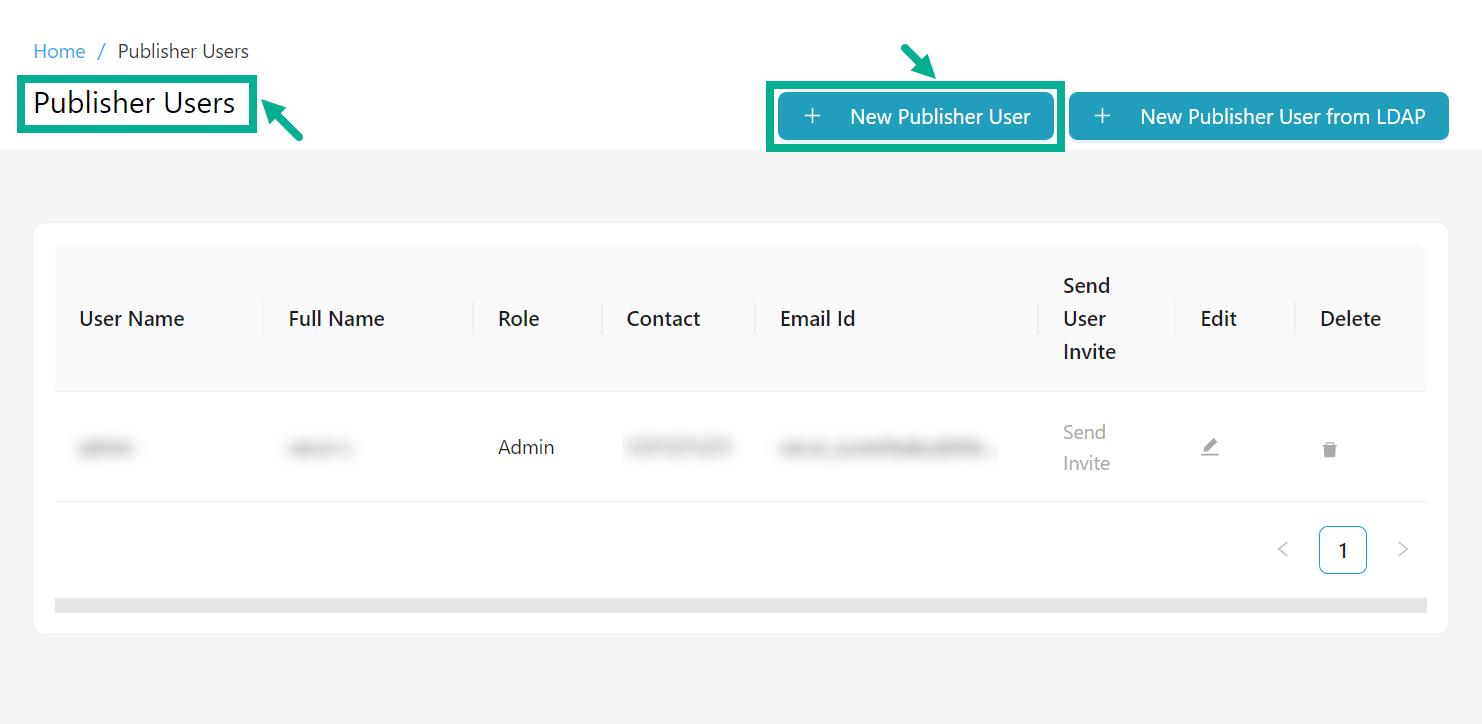
- Click New Publisher User.
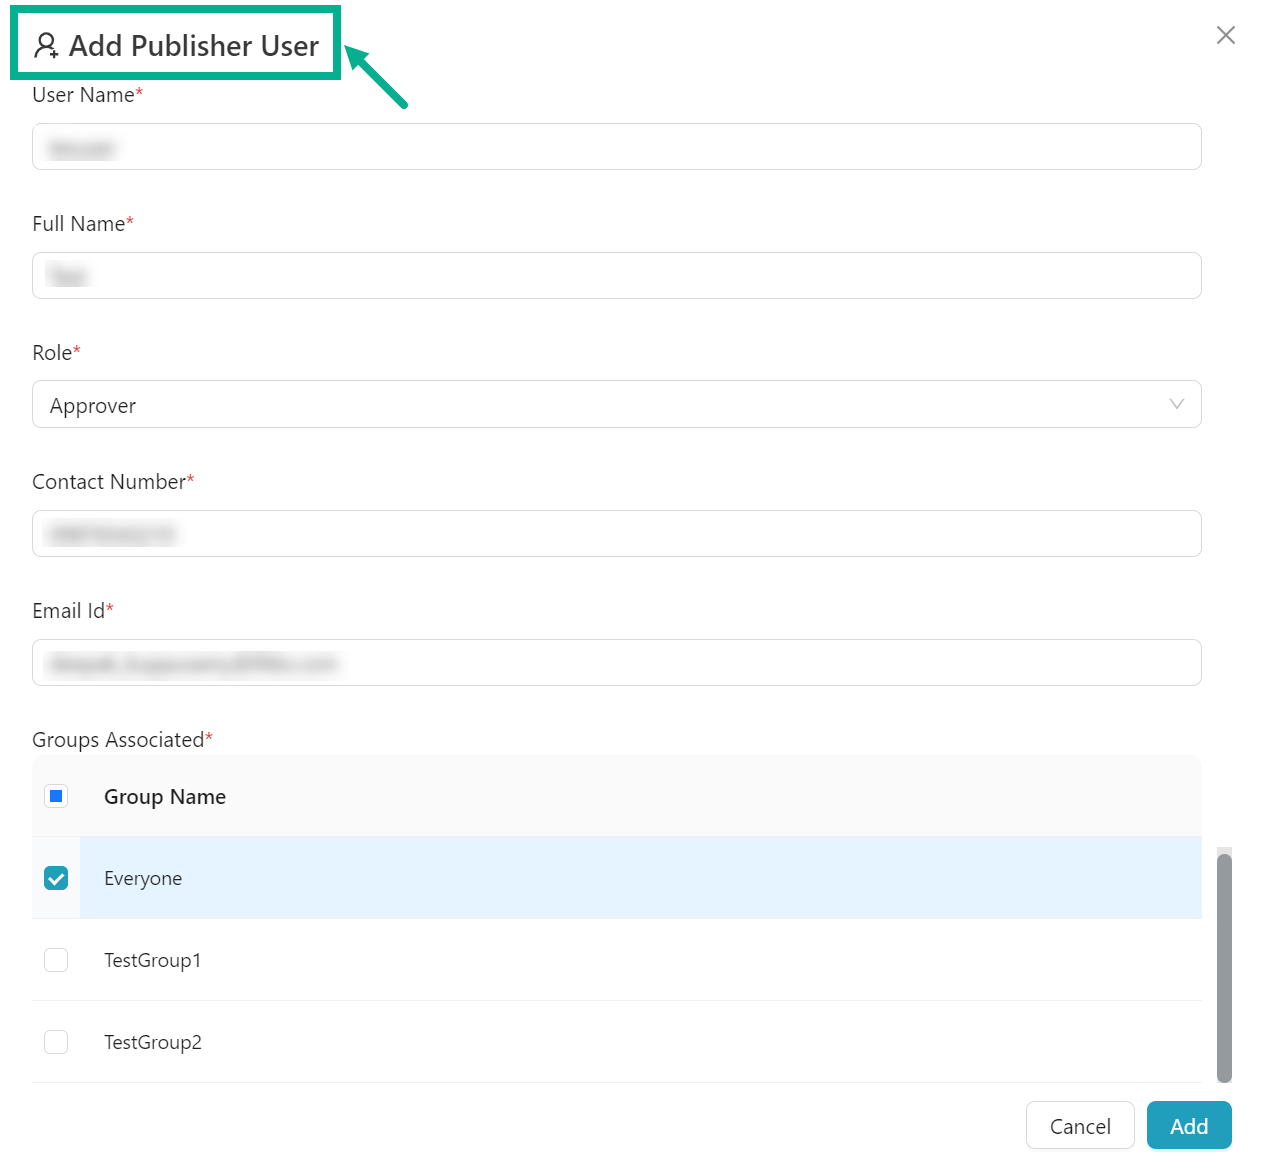
Add Publisher User dialog box appears as shown below.
-
Enter the User Name and Full Name.
-
Select the Role from the drop down.
-
Enter the Contact Number and Email Id.
-
Select the Groups Associated by clicking the respective check boxes.
-
Click Add.
On adding, the confirmation message appears as shown below.

Add a Publisher User from LDAP
THAPI Manager allows you to add users via LDAP only when it is enabled. As a result, the New User from LDAP button becomes visible only when LDAP is enabled.
- Navigate to the Access Control module's Publisher Users sub-module.
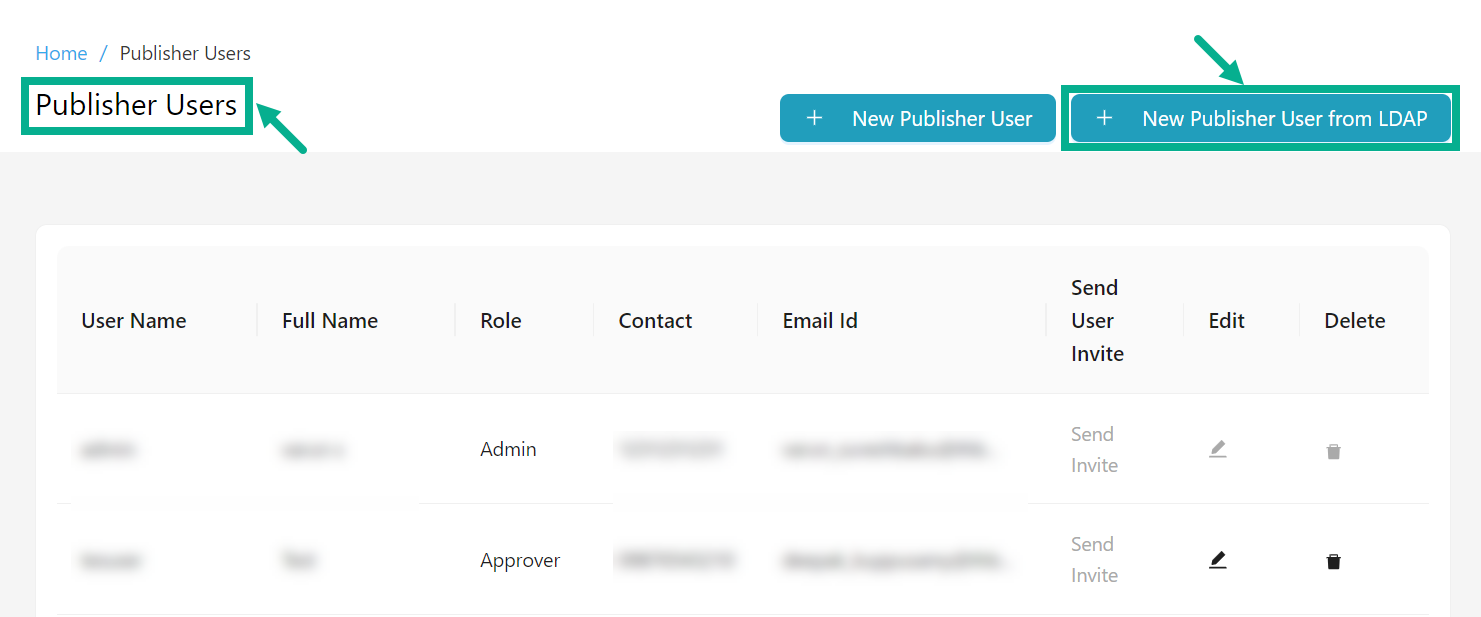
- Click New Publisher User from LDAP.
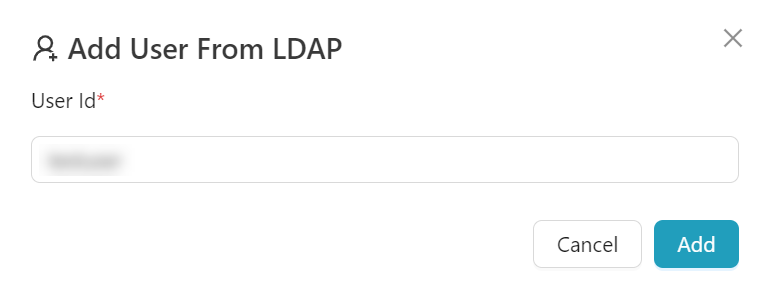
Add User From LDAP dialog box appears as shown below.
-
Enter the User Id.
-
Click Add to finish adding the LDAP user to the Publisher Users list.
If the "Fetch Role from LDAP" plugin is enabled and the value for Role fetched from LDAP matches any of the following: "Admin", "Approver", "Technical", or "Business", the user is created and assigned the fetched role.
-
The "Fetch Roles from LDAP" Plugin Guide describes how to create and configure the LDAP plugin.
-
If the "Fetch Role from LDAP" plugin is disabled, all user data except Role information is retrieved from LDAP and saved in the native database and the user is marked as inactive; in this case, the user is unable to log in until the Role is assigned from the Publisher Users page.
-
If the role retrieved from LDAP returns a null or empty string, the user will be created without a role assigned to them. If no role is identified or an invalid role is returned for a user account, the account is marked inactive.
Edit a Publisher User
- Navigate to the Access Control module's Publisher Users sub-module.
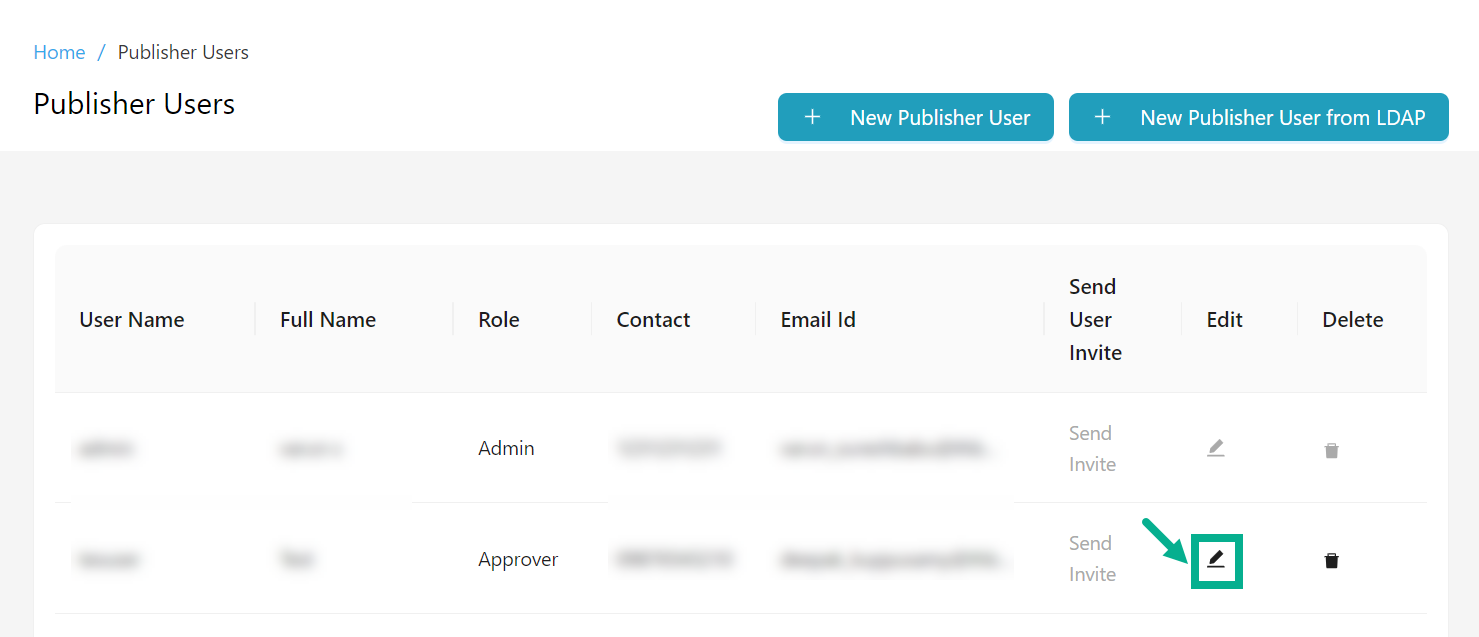
- Click the Edit icon to edit a respective user.
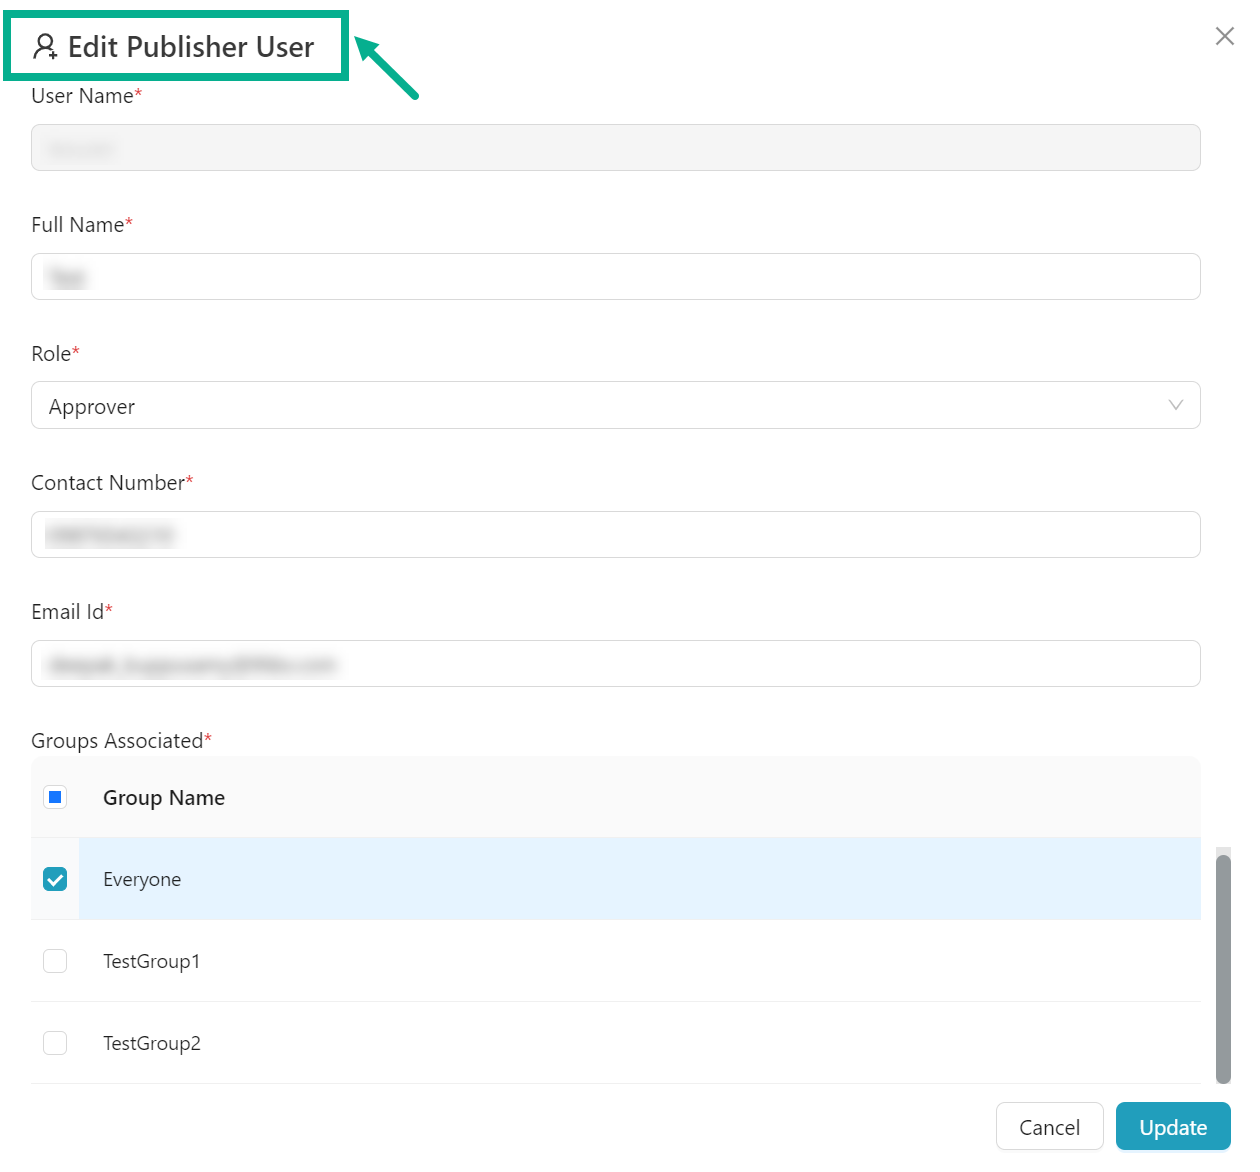
Edit Publisher User dialog box appears as shown below.
-
Update the necessary information.
-
Click Update.
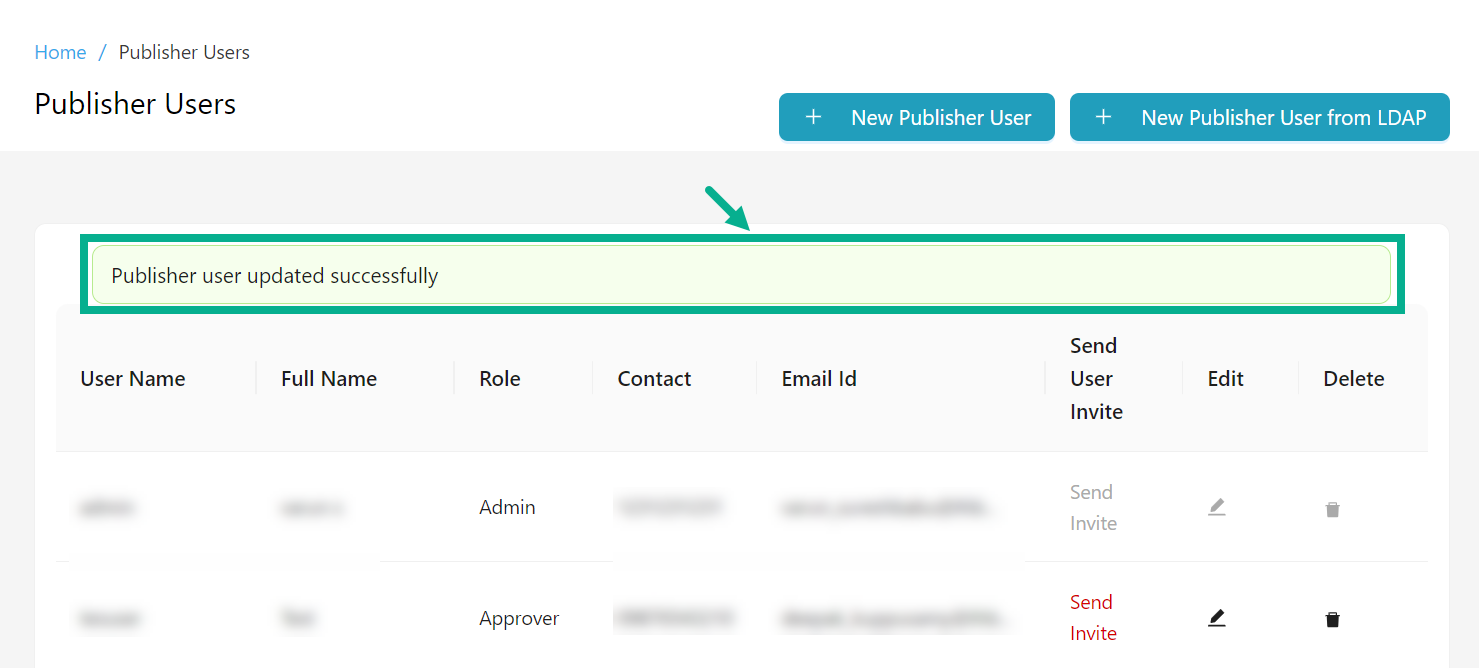
On updating, the confirmation message appears as shown below.
Send invite to the Publisher User
When a Publisher User is created, they receive an email with their username, a randomly-generated password and a link to update it. If they miss updating their password before the link expires, they can reset it using the same link to access the application. Resend the invite link using the Send Invite button as needed.
- Navigate to the Access Control module's Publisher Users sub-module.

- Click the Send Invite option for the first-time user whose link has expired.
On proceeding, the confirmation message appears as shown below.
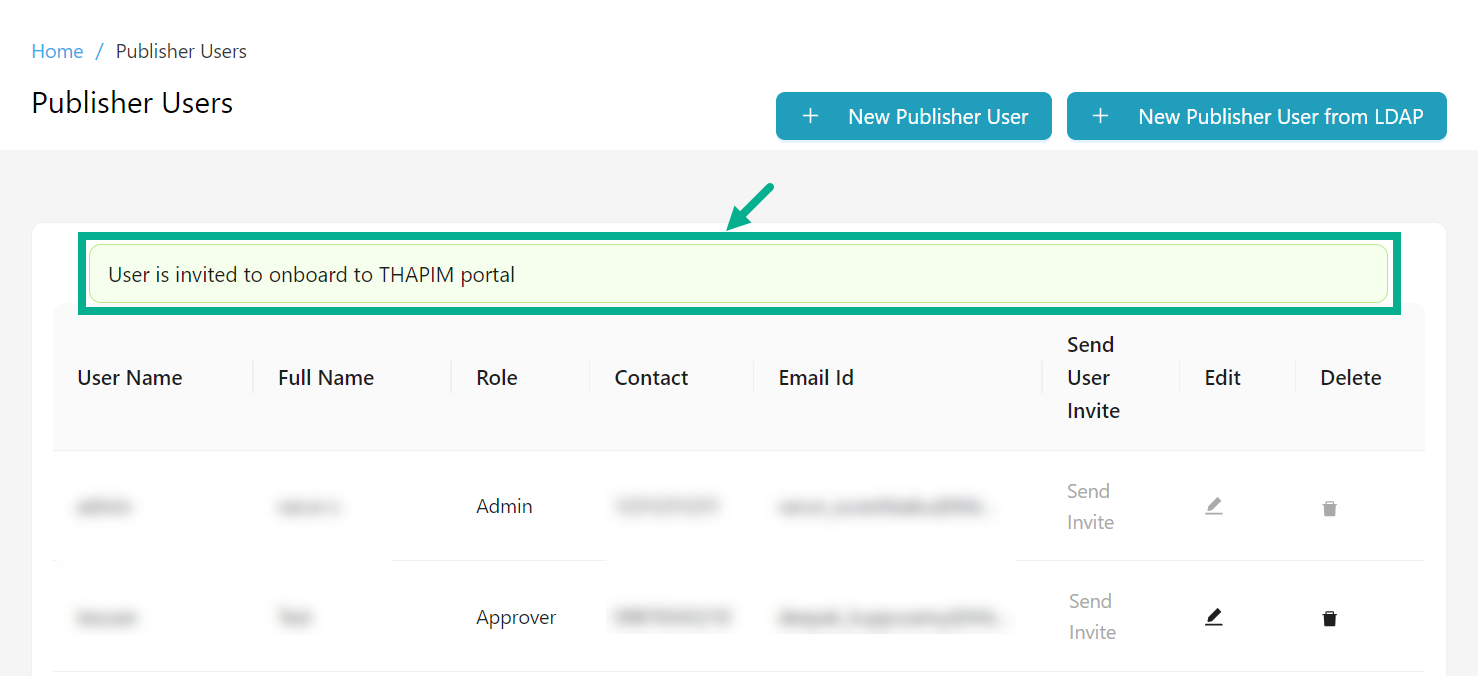
The Send Invite option will be disabled until the invitation link expires.
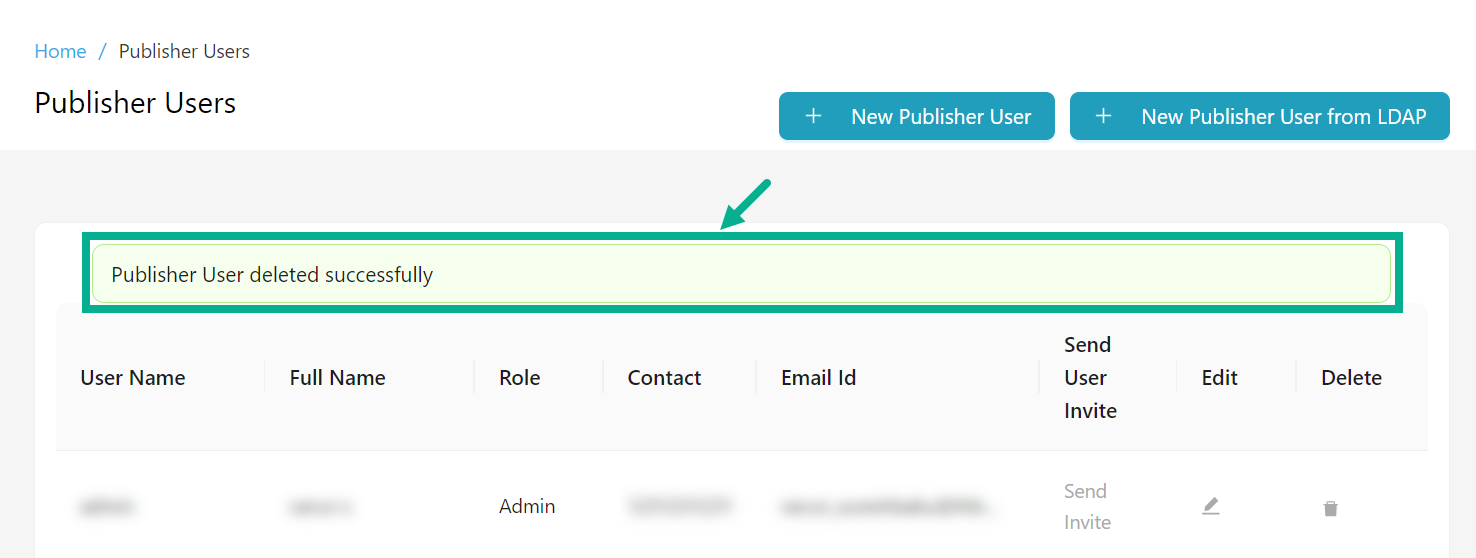
Delete a Publisher User
- Navigate to the Access Control module's Publisher Users sub-module.

- Click the Delete icon.
The pop-up appears as shown below.
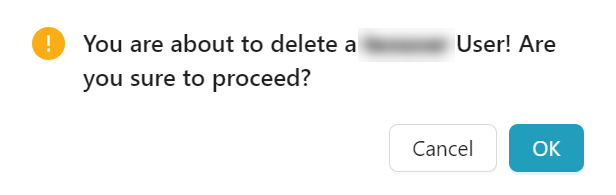
- Click OK.
On proceeding, the confirmation message appears as shown below.